What happens when you're fed up with cheap quality, high priced, children's furniture sold in stores???
You say screw it and make your own cheap quality furniture for less.
This hack came about when I tried to purchase a chalkboard table for my preschool art classes. When I discovered that pre-fabricated chalkboard tables can go for an obscene amount of money...

... I figured I could build one for less than $50. I was DEAD WRONG because it only cost me less than $25 in materials. Even better is that it only took less than 2 hours to make.
COST BREAKDOWN:
LACK TABLE (RED)......................................... $7.99
IDEALISK STAINLESS MEASURING CUP............. $6.99
RUST-O-LEUM CHALKBOARD PAINT................... $9.99
I could have easily used a metal bowl or tin from the local dollar discount store and saved an additional $6 but I was already in IKEA and inspired. More importantly, the lip on the IDEALISK made it easier to secure it to the table.
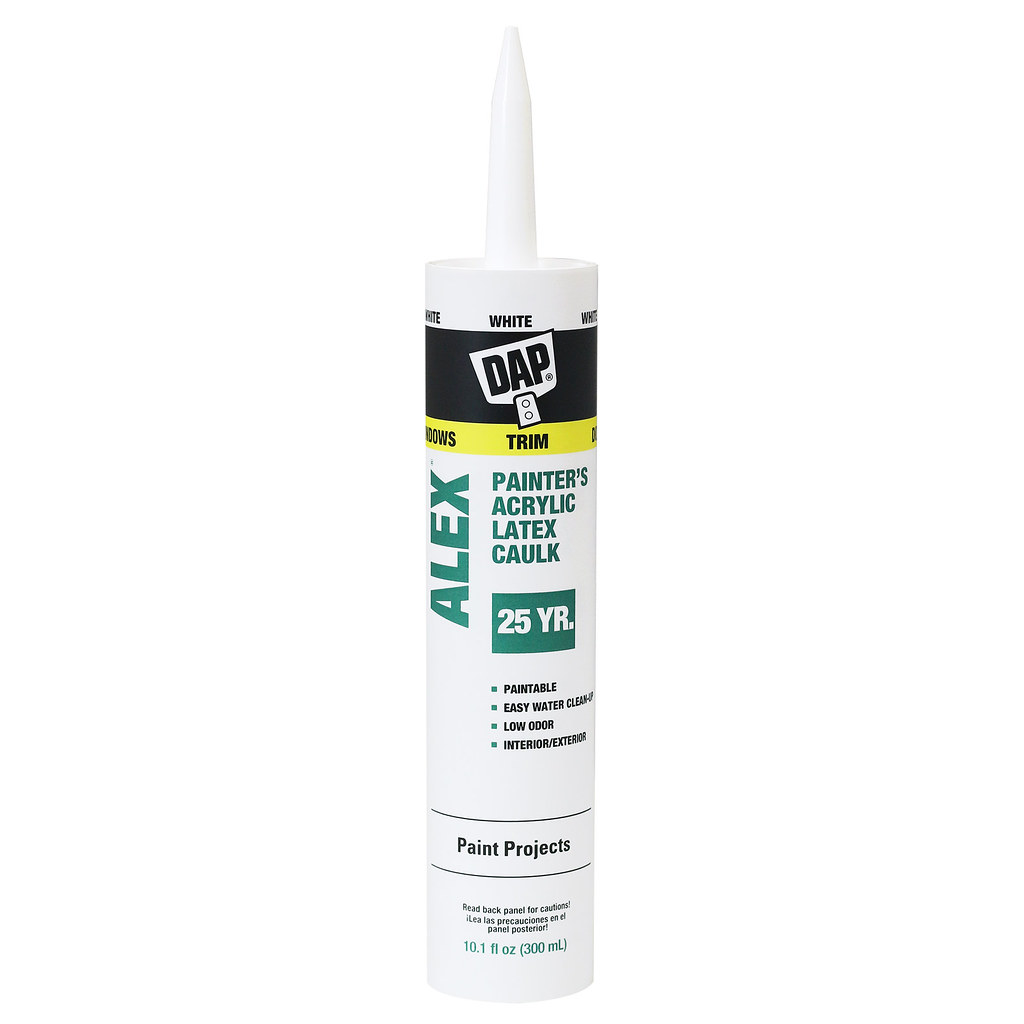
I also used a $3.50 tube of construction-grade liquid nail to adhere the cup to the table, a $3 dollar paint roller to apply the chalkboard paint, a $1.79 tube of Alex Paint-Grade acrylic caulk to cover up some mistakes, and a $1 sheet of 240 grit sandpaper to scuff up the tabletop so the paint would adhere better. I already had these on hand and are not included in the final total.
I also used a cordless drill and an angle grinder which was needed to cut the handle off of the measuring cup. This could easily be done with a handsaw and a little extra time and elbow grease.
INSTRUCTIONS:
Measure a 5 7/8" hole dead center in the middle of the tabletop. This should be 3/16" smaller than the lip of the measuring cup. I used a T-Square which made life much easier. It is a great investment and saves tons of time and headaches on many projects.
Use a cordless drill and a ½" brad-point drill bit to make a series of holes just inside the circumference of the circle. I drilled all the way through the tabletop to cut out the top and bottoms simultaneously. I then used scissors to cut the paper honeycomb skeleton inside.
A 5 7/8" hole saw would have saved me much time and given me a cleaner cut but it's not worth the cost for a one-time use.
Keep in mind that some chip-out will occur around the hole you're drilling. Luckily, I had some Alex Painter's Grade Acrylic Latex Caulk so I filled in the chipped parts on the surface and it was back to being smooth and perfect. In retrospect, I should have scored the circle with a razor blade prior to drilling holes to prevent chip out.

My favorite part of this project was taking an angle grinder to the measuring cup and removing the handle. Let the sparks fly!
Test to see that the cup fits nice and snug.
Tape up the sides of the tabletop with painter's tape and then lightly sand the surface with 240 grit sandpaper.
Using a small roller brush, paint 3-4 coats of chalkboard paint on the tabletop. Let dry between coats.
Apply Heavy Duty Liquid Nail under the lip of the measuring cup. Position the cup inside the hole and place something heavy inside (I used a 5 pound weight) to hold it down. Wipe away any squeeze-out before it hardens and then let dry for about an hour. It dries after 10 minutes but I wanted to make sure there was a strong bond.
Just to serve my vanity, I spray painted my name onto the underside of the table!!!
Remove the painter's tape and then continue to assemble the table by adding the legs according to the IKEA instructions:
Turn upright and place chalk in the cup.
Enjoy watching your kids enjoy the fruits of your labor and the hundreds of dollars you just saved yourself!